Lot stages can be changed at any point in time from the Lot Details page for a bulk wine, or for a bottled case good. Lot stages should be changed whenever the lot is complete with one phase of its life, such as finishing primary fermentation and moving to malolactic fermentation. You can also use these for Case Good lots to help manage shiners or wines ready for order.
Stages are primarily helpful for reporting. When you are working with lots or viewing lots in a report or Explorer, you can always filter the lots by Stage. Stages also impact which analyses display on the Lot Dashboard. Find out more here.
Changing the lot stage does not impact your TTB Reporting or update a lot's tax class. Find out how to update tax class on a lot here.
This article covers how to change the stage of a lot:
From the Lot Details page
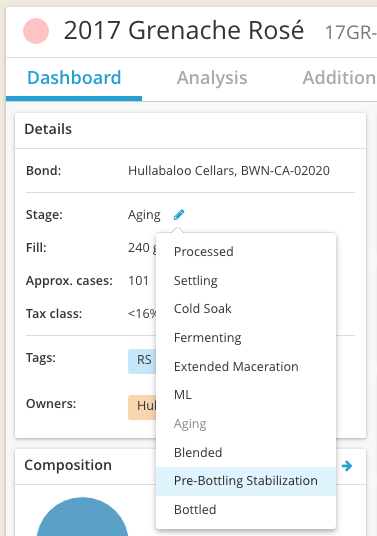
Click on the blue pencil next to your current stage to select a new stage.
From within an action or work order task
Stages can be selected within some actions and tasks. For example, when going through the Process Fruit to Weight or Volume tasks, or the Drain and Press task, you can select to change the current Lot Stage at the conclusion of that task.

The Bottle action also allows you to set the lot stage within the action (and defaults that stage to "Bottled").
The Addition action and task allows the user to change the stage of all lots involved at one time. This increases efficiency and is very useful tool when adding yeast to change lot stages from Processed to Fermenting, or when adding SO2 to change the lot stage from ML to Aging.

In bulk
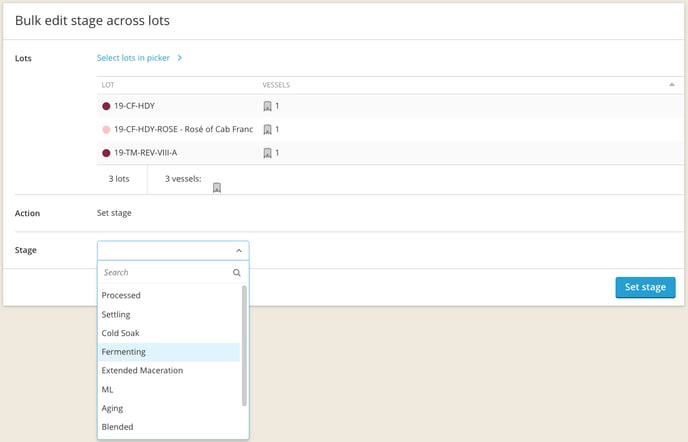
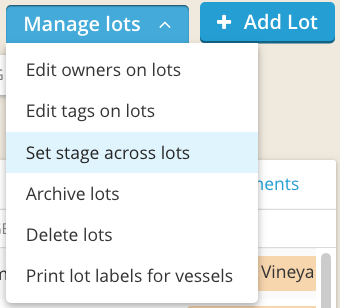
Go to the Lot Explorer and click on the Manage Lots button in the top right corner. Select Set stage across lots.
Choose your lots from the lot picker, then select a stage from the Stage dropdown. Click on Set Stage to change the stage for the selected lots.