![InnoVintSupportCenter - header.png]](https://support.innovint.us/hs-fs/hubfs/InnoVintSupportCenter%20-%20header.png?width=300&height=22&name=InnoVintSupportCenter%20-%20header.png)
When using SUPPLY's Order Management System, your orders will require a customer. Beyond populating information for an order, Customers allows you to report on sales and revenue data broken down by customer. Read on to learn how to set up your customers and use the explorer.
This article covers:
- Using and Managing Customers
- Adding Customers
- Customer details
- Editing, Archiving or Deleting customers
Using and Managing Customers
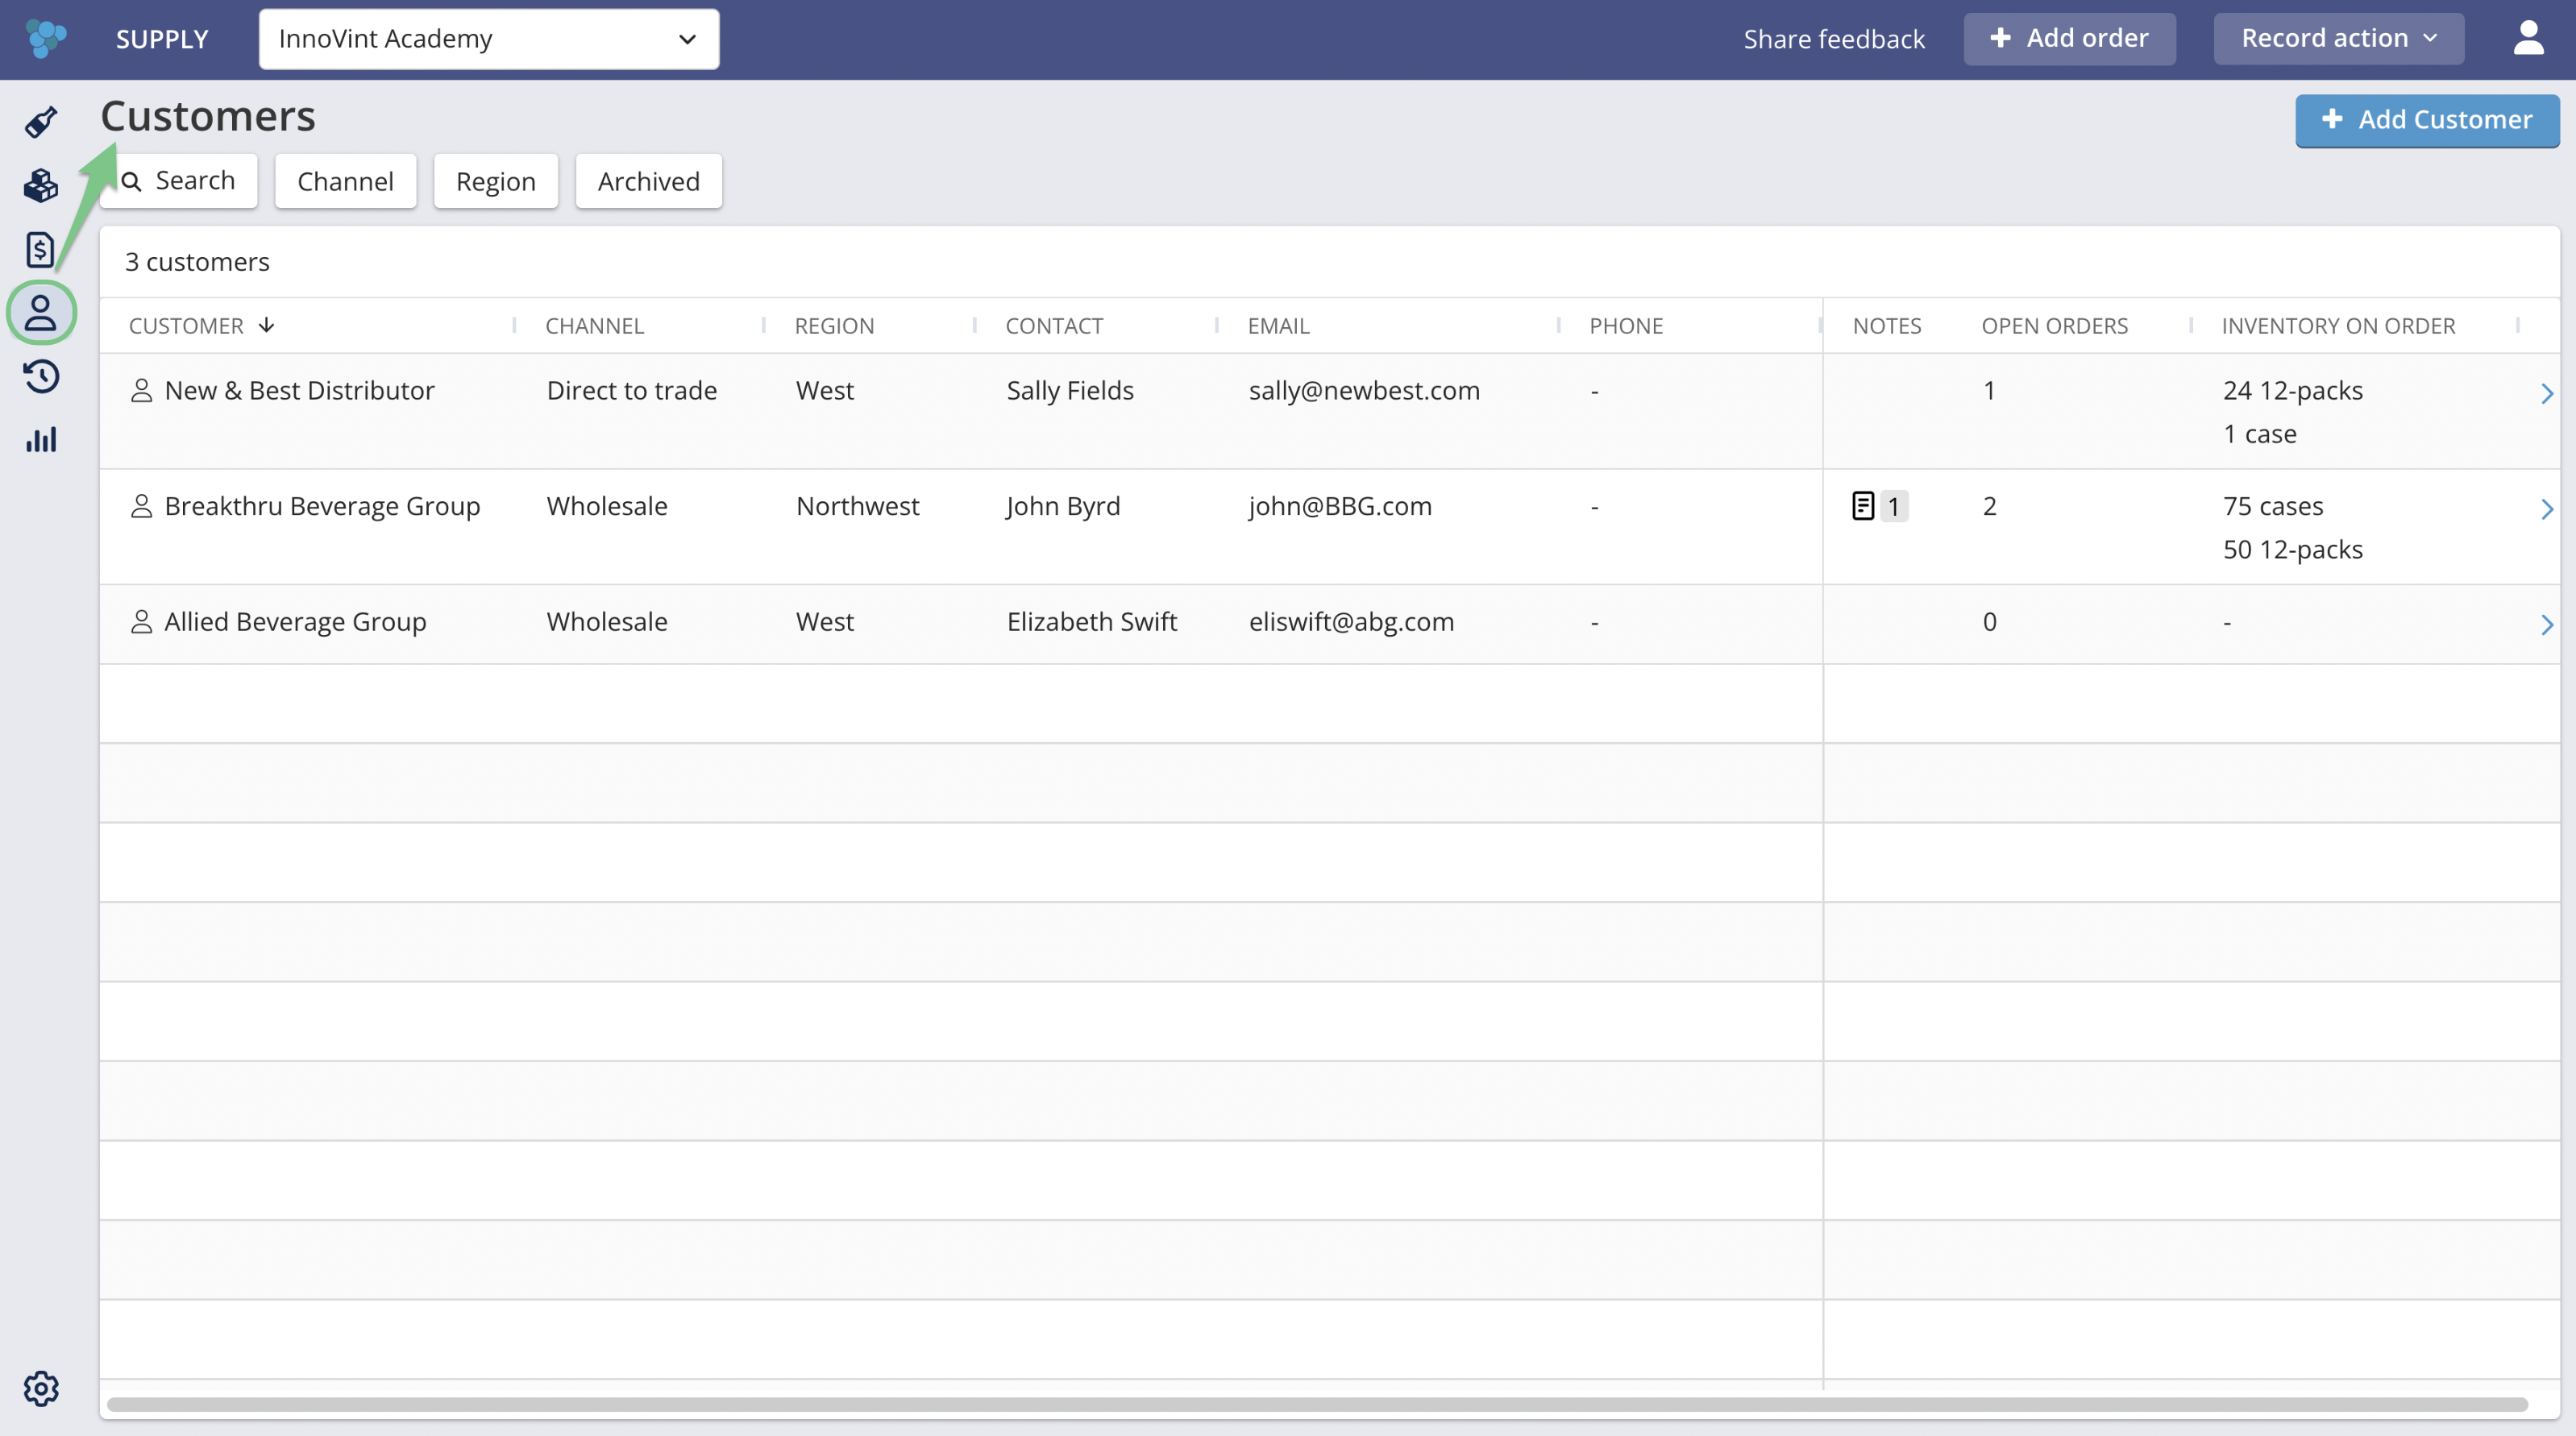
The Customers explorer allows you to view and sort your customers, and add new ones. Customers are managed from the Customers icon in the left-hand sidebar.
-
Each column is sortable, including Customer, Channel, Region, Contact, Email, Phone, Open Orders and Inventory on Order (total)
-
You can filter by channel, region and archived or unarchived customers, and use the Search field to search customer name, contact and email
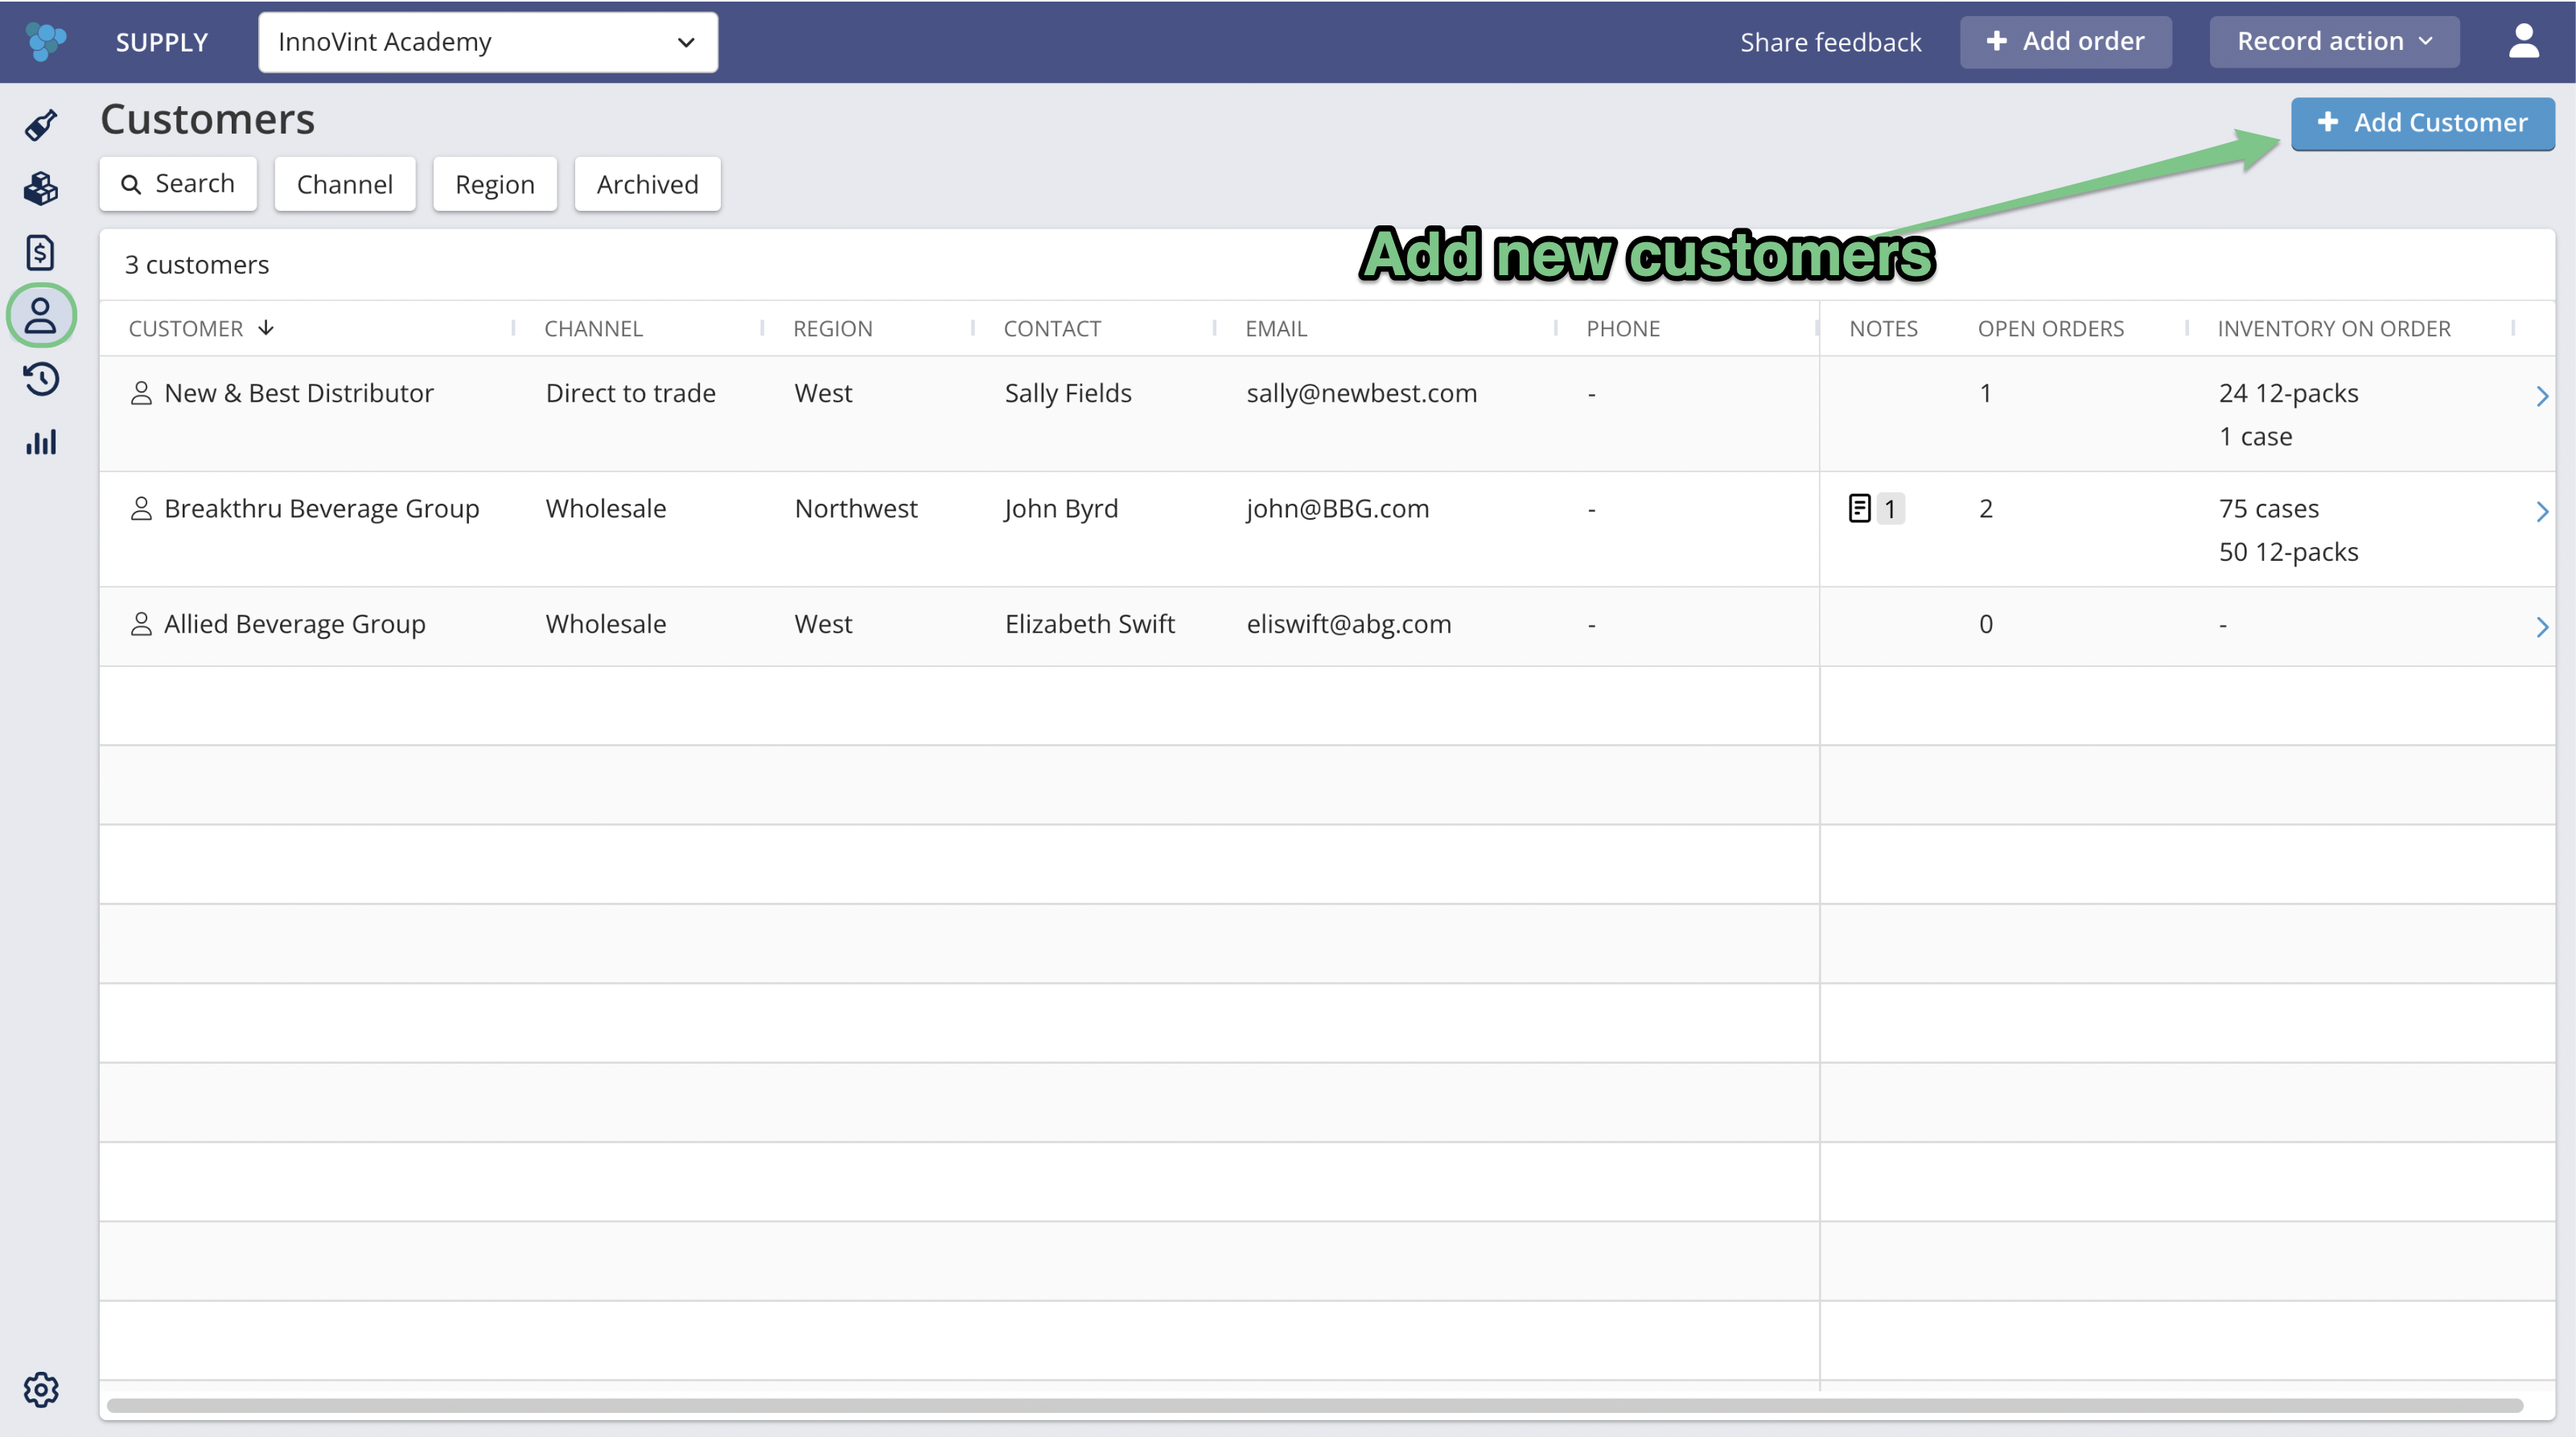
- Use the + Add Customer button at the top right to add new customers (or add one directly via a new Order)
Adding Customers
Where to add customers
You have two options for adding customers:
1. Add customers ahead of time from the Customers explorer, before you start creating orders.
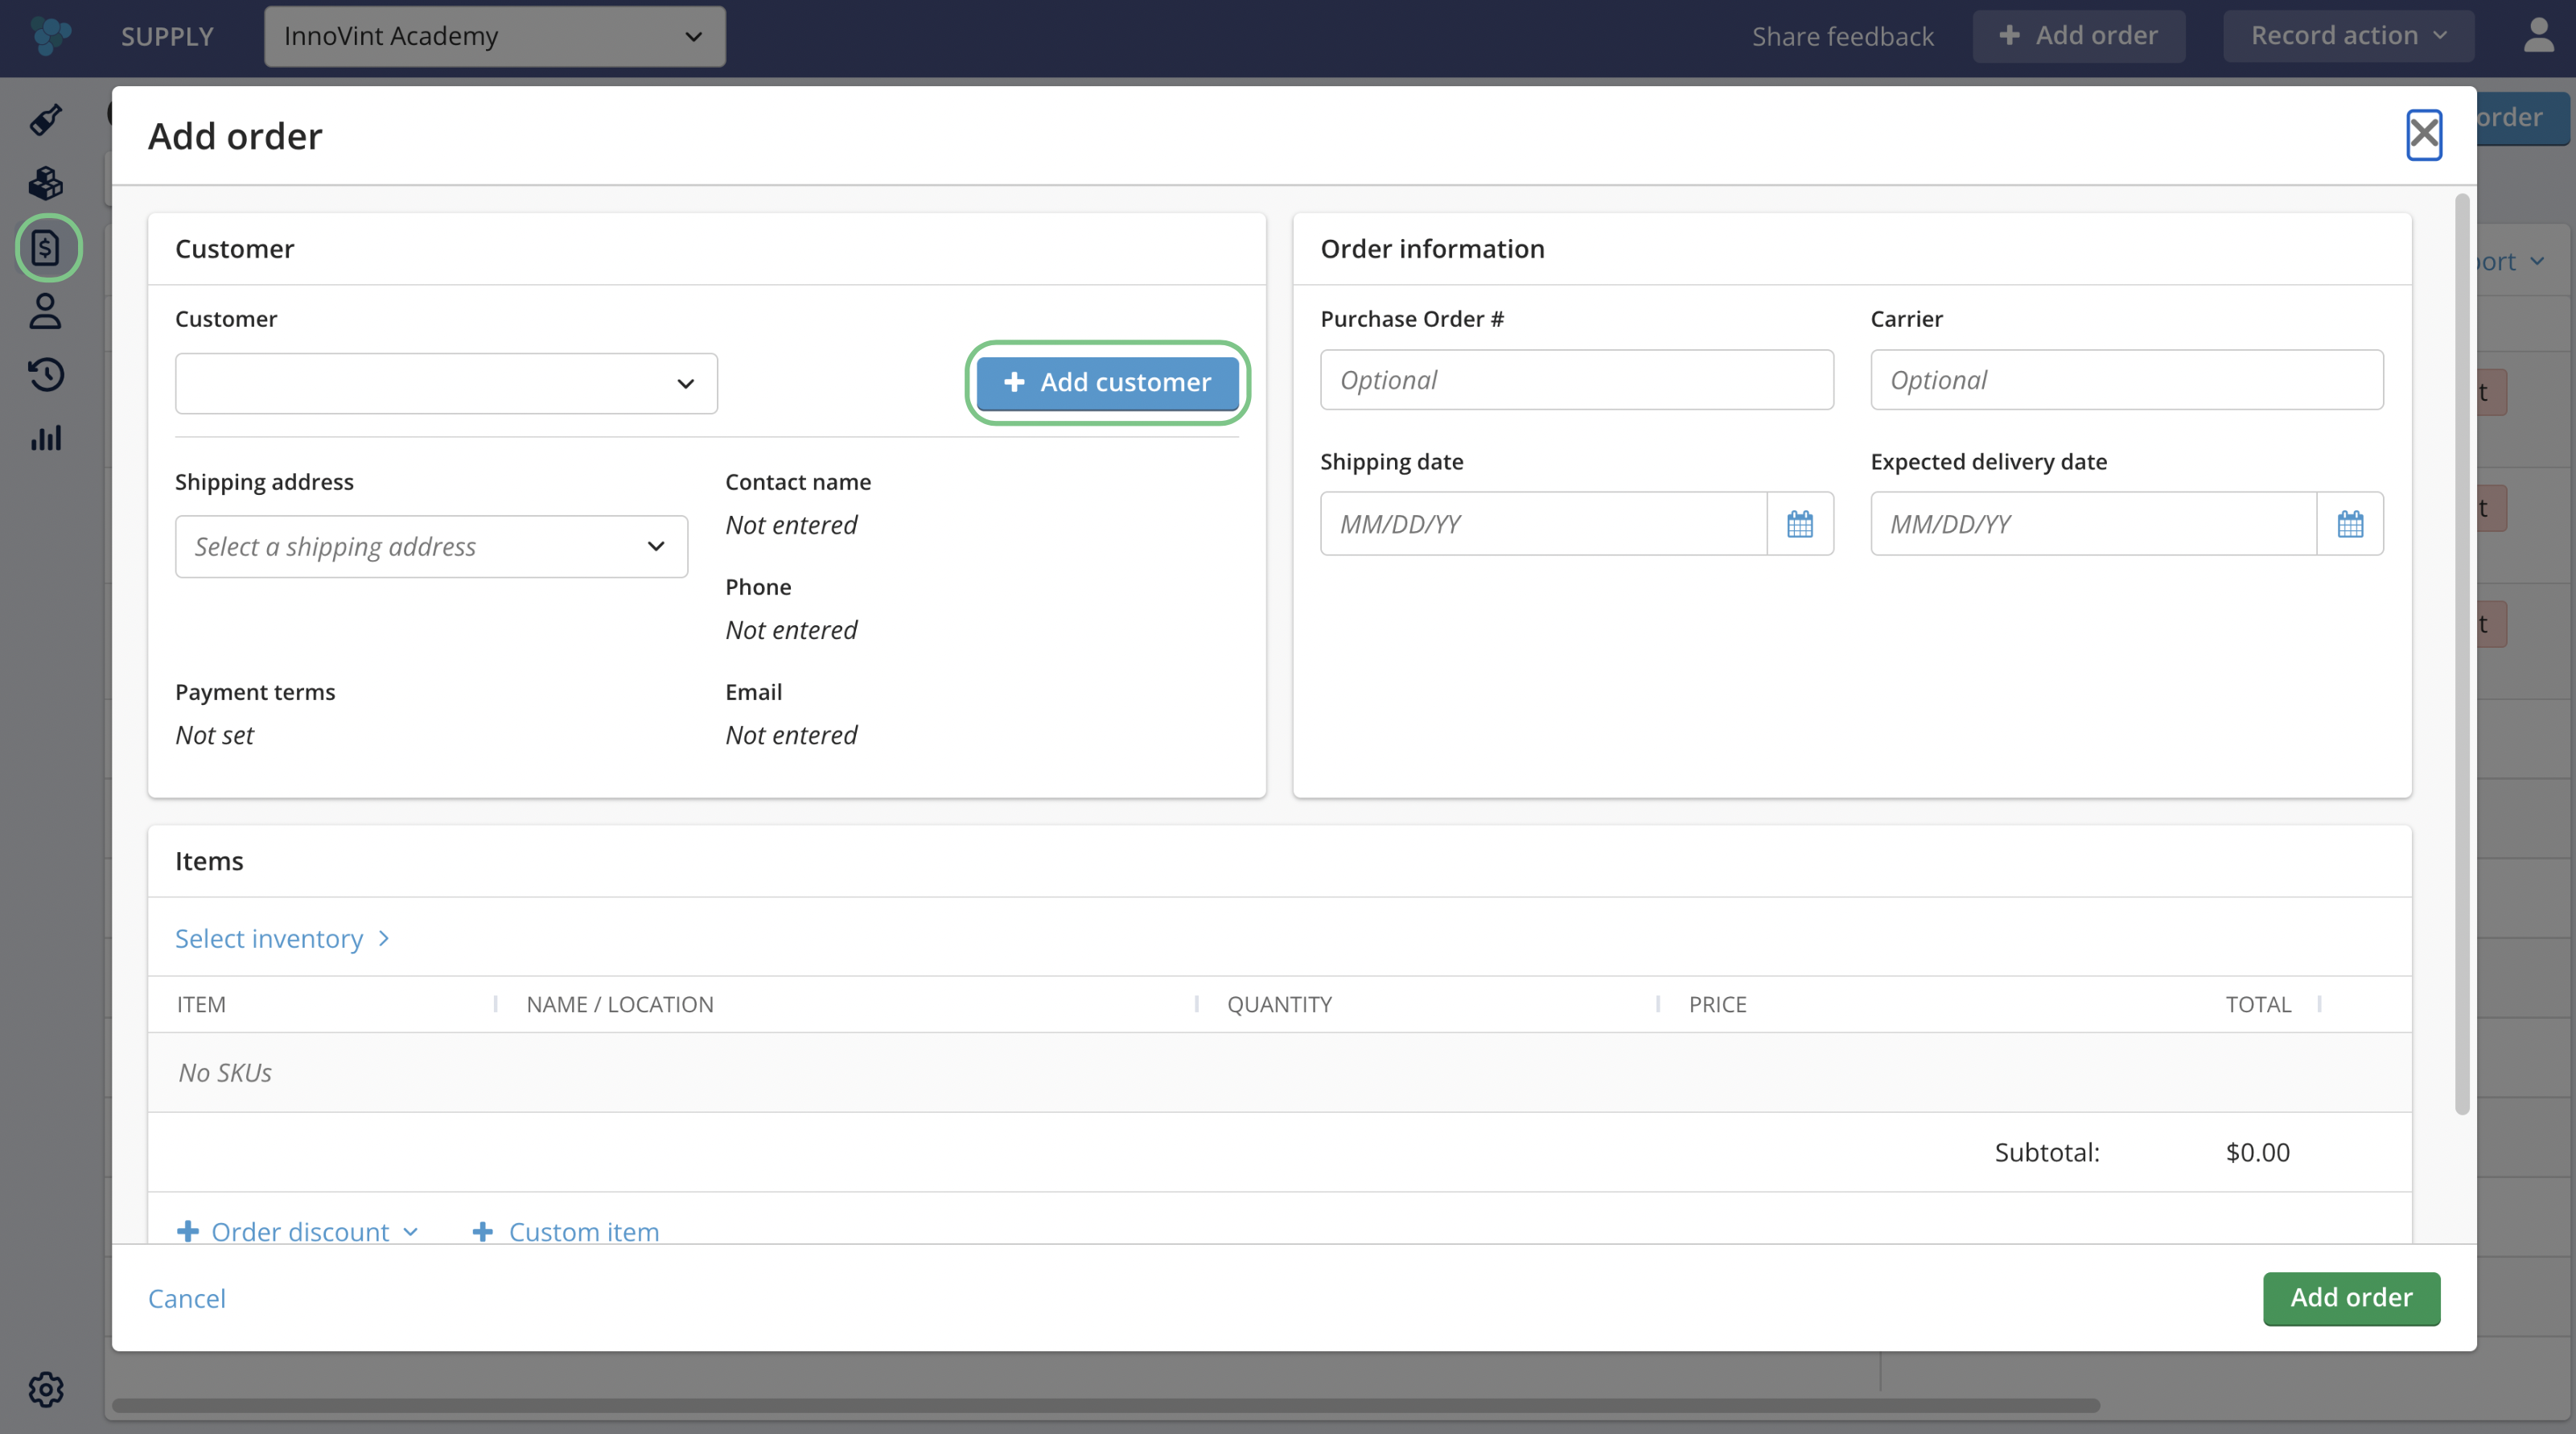
2. Add a customer on the fly while creating an order — an Add customer button/link is available directly in the order form's customer dropdown, so you don't have to leave the order screen.
Available fields for Customers
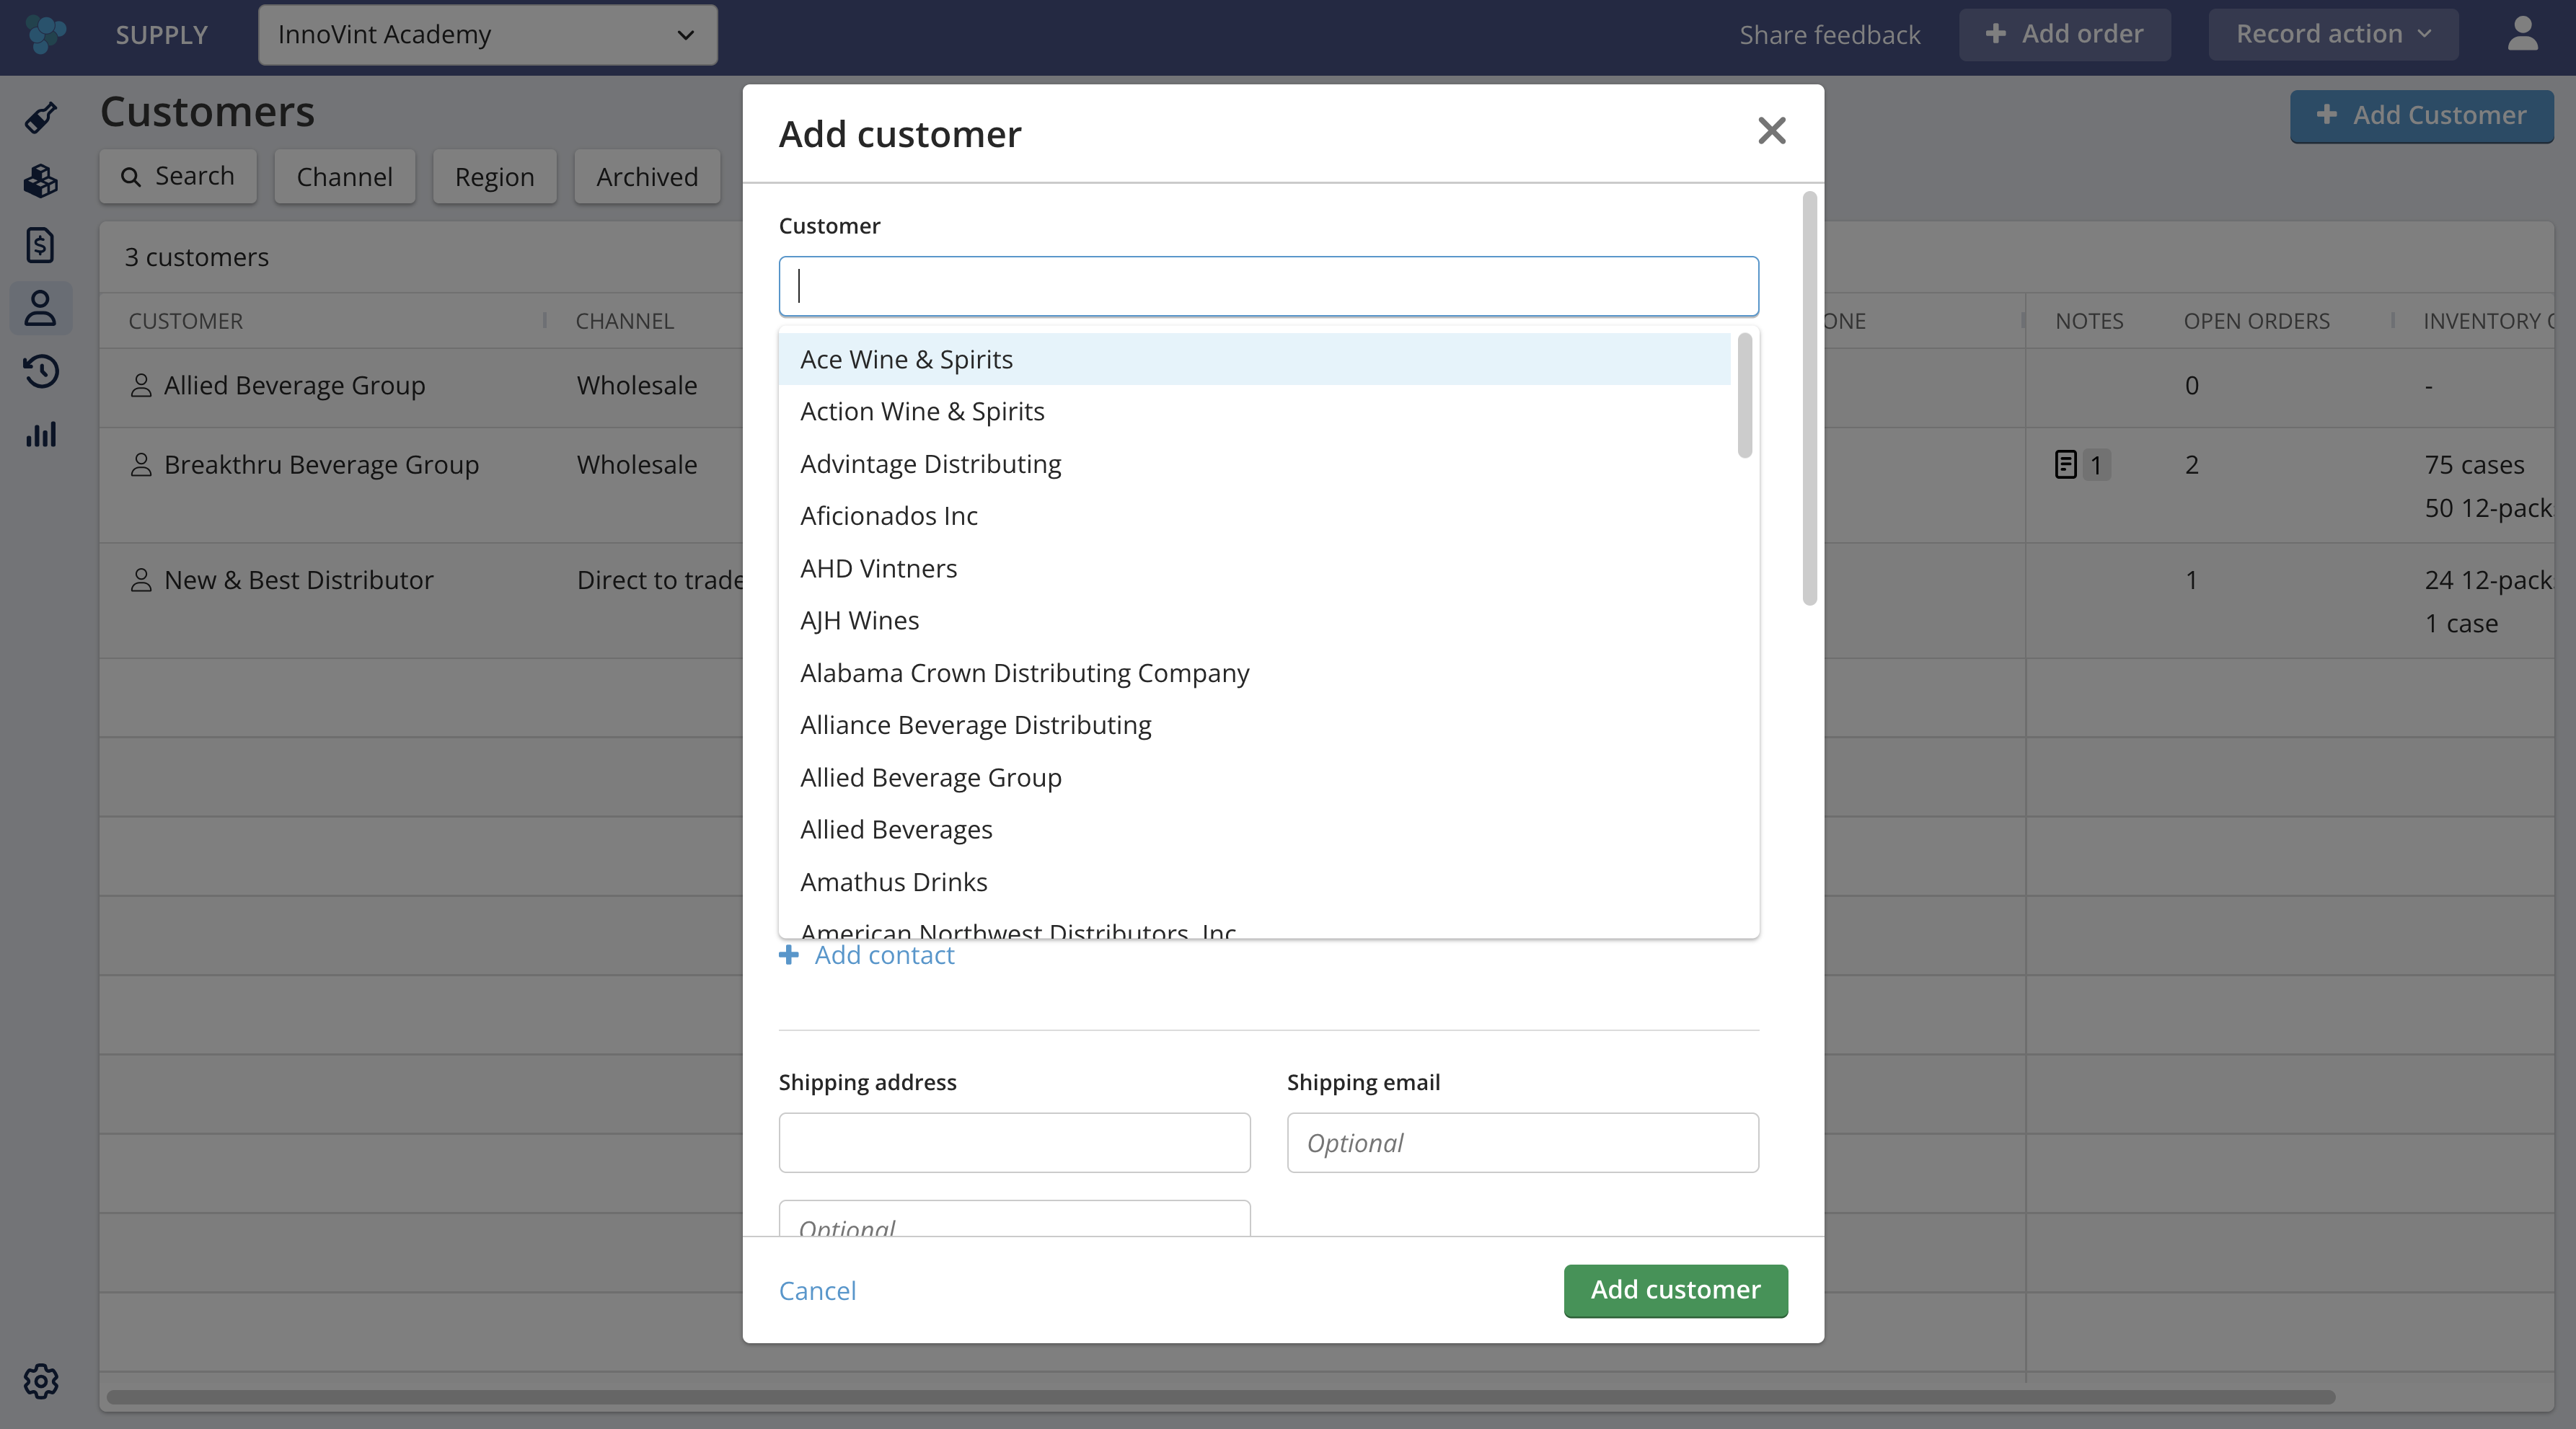
- Customer name (Required). This is the name of the customer/company that displays in explorers, in the Customer menu when adding an order and on the Order details page.
- The Customer name must be unique
- SUPPLY provides a list of common distributors to select from, but you can also type in the field to Add a new customer name
- Channel (Required). Wholesale, Direct to trade, Export, Internal or Other
- Region (Required). North, South, East, West, Northeast, Northwest, Southeast, Southwest, International
- Contact name (Optional). Your contact's name at the company
- Contact email (Required). Must be a valid email address
- Contact phone (Optional)
- Shipping address (Required)
- A single customer can have more than one shipping address on file (for example, if they receive shipments at multiple locations). When you add that customer to an order, you'll select which of their addresses applies to that specific order
- Shipping email (Optional)
- Billing address (Required)
- Billing email (Required). Must be a valid email address
- Payment terms (Optional). Select an existing option from the global dropdown.
- Upon receipt, Net 15, Net 30, Net 60, Net 90
You may add multiple contacts, as necessary.
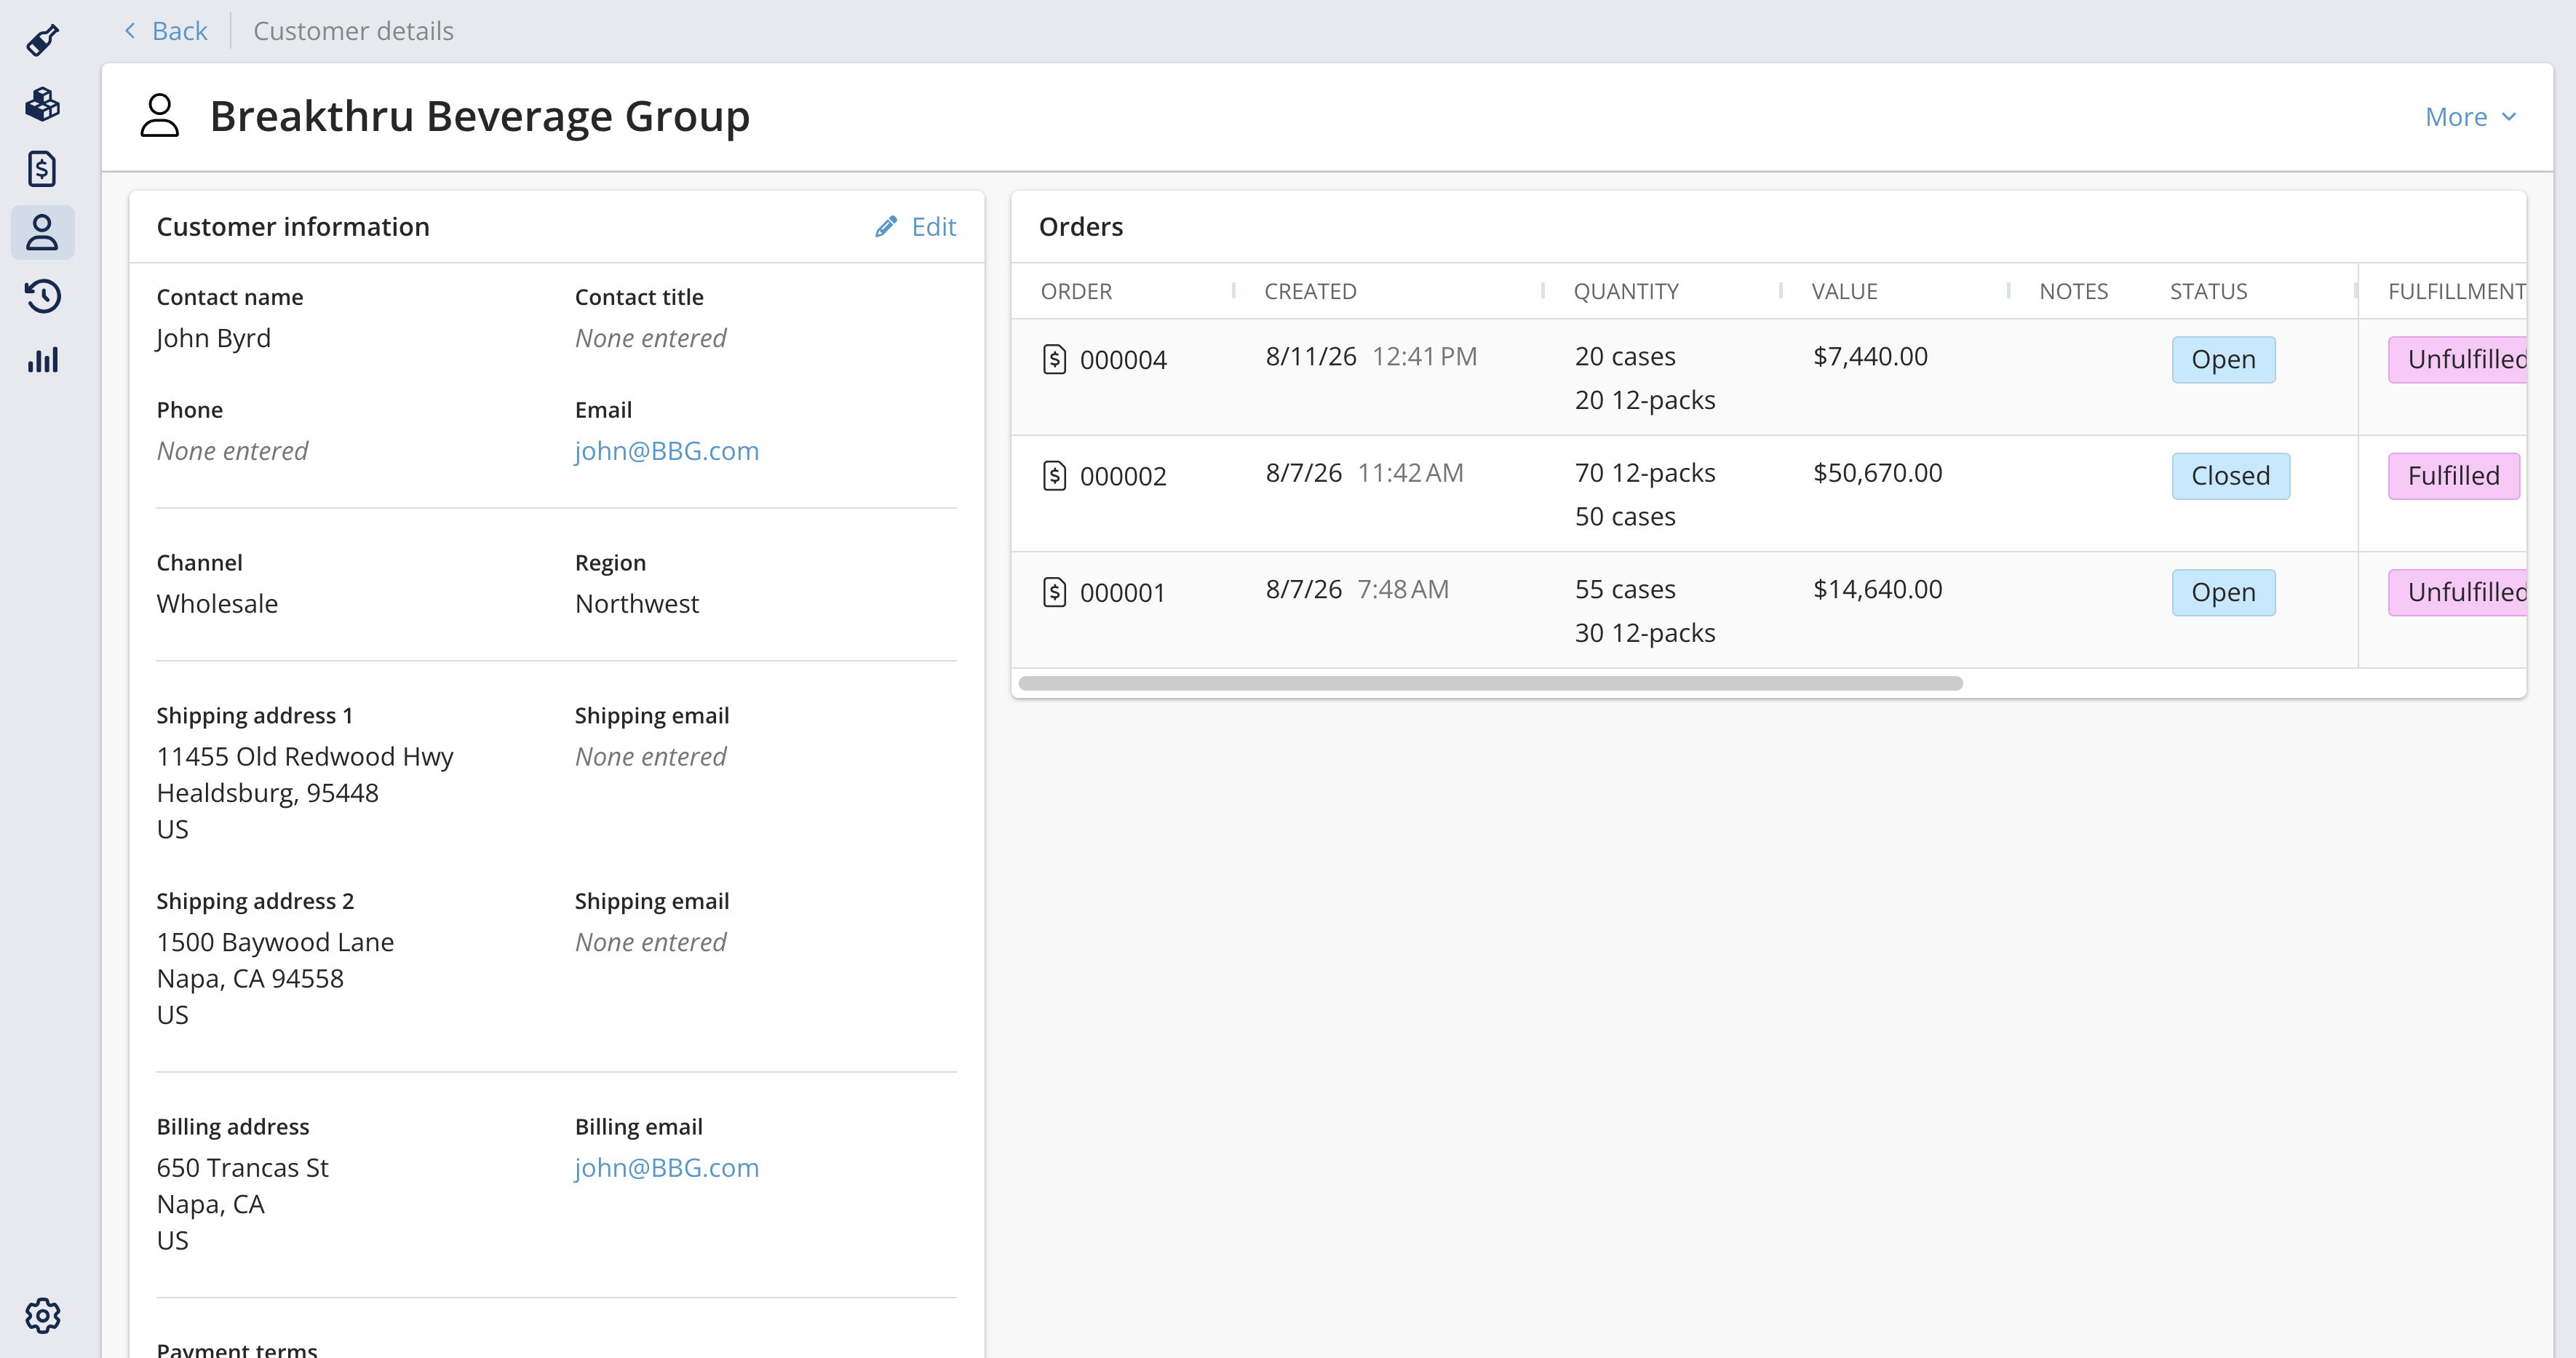
Customer details
Use the customer details page to update customer information, add notes to your customer, or view a customer's lifetime orders.
Editing, Archiving or Deleting Customers
Go to the Customer details page to edit, archive or delete a customer.
How to Edit a Customer
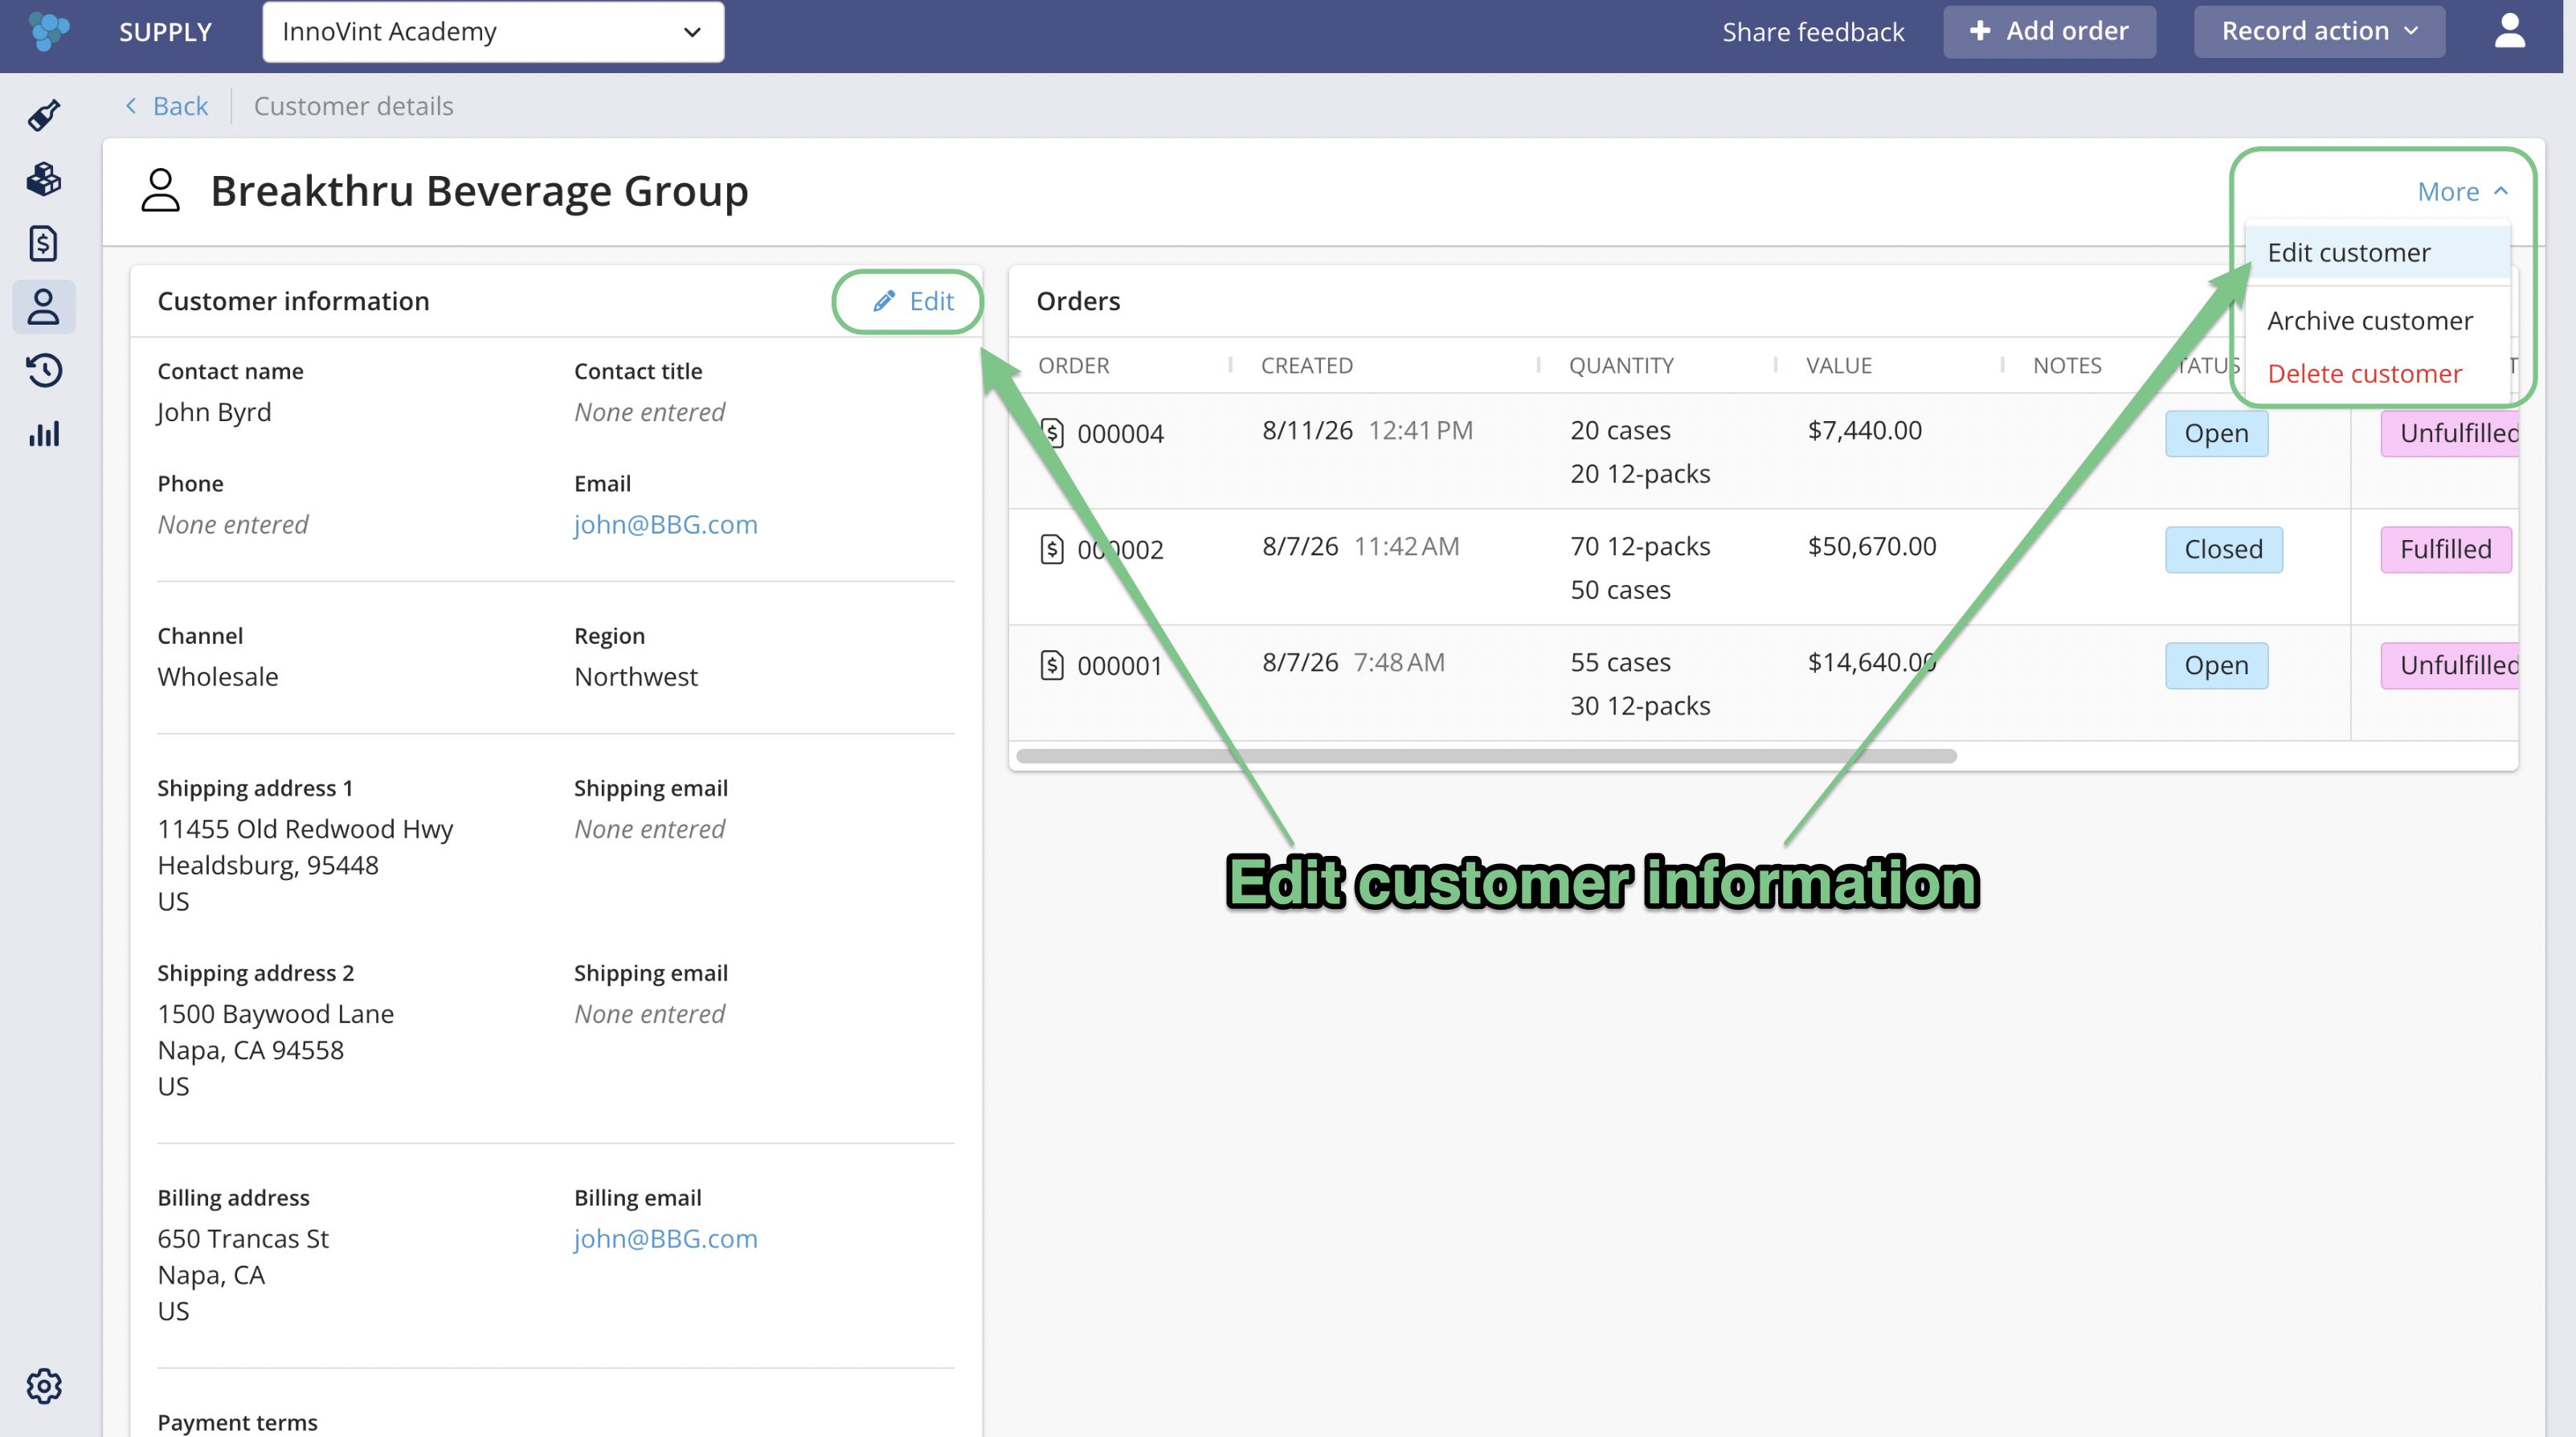
If you ever need to update a customer's information (including their addresses), you can edit the customer record directly on the Customer details page — updates made there will be reflected the next time that customer is used on an order, and on any current orders.
Use either the Edit pencil or the More menu to edit all customer information fields.
Deleting a customer
You may delete a customer if no open orders exist for that customer. The Delete customer option is available via the More menu.
A customer may be deleted if previous orders have been fulfilled for that customer. In this case, those fulfilled orders will be retained and the depletions will remain on the applicable inventory.
A deleted customer cannot be retrieved in the Customer explorer.
Archiving a customer
You may archive a customer if no open orders exist for that customer. The archive customer option is available via the More menu.
Archived customers will not appear in the ‘Customer’ dropdown when adding an order, and may be unarchived.
If a customer has been archived, the More menu for the customer will allow you to unarchive it.